BLOG POSTS
Avoid Common Mistakes in Interior Painting

Embarking on an interior painting project can invigorate your home’s aesthetics, making each room feel fresh and new. However, the difference between professional-looking results and disappointing mistakes often comes down to common missteps many homeowners make. Here’s how to avoid these pitfalls and ensure a flawless finish to your interior painting efforts.
Interior Painting Preparation: The Foundation of Success
Start with a Clean Slate
One of the most critical steps in interior painting is starting with a properly prepared surface. Failing to clean walls can lead to paint peeling off or not adhering correctly. Wash walls with a mild detergent and patch any holes or cracks with spackle. Once dry, sand the patches smooth to create an even surface.
Choosing the Right Primer
Another common oversight is skipping the primer. Primer not only helps cover stains and dark colors but also enhances paint adhesion, prolonging your paint job’s life. Investing in a mold-resistant primer for areas with high humidity, like kitchens and bathrooms, can prevent future problems.
Techniques for Better Interior Painting
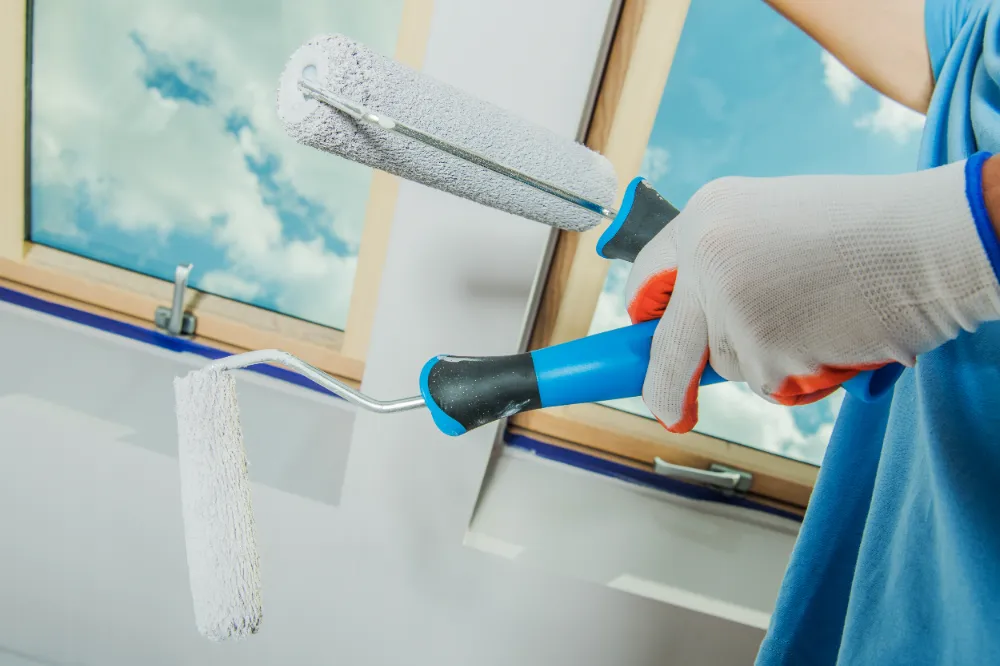
Master the Brush and Roller
A frequent mistake is overloading the brush or roller with paint. This leads to drips and uneven application. Dip only a third of the brush into the paint, tapping off excess before applying. When using a roller, roll it back into the tray several times to ensure it’s evenly coated but not saturated.
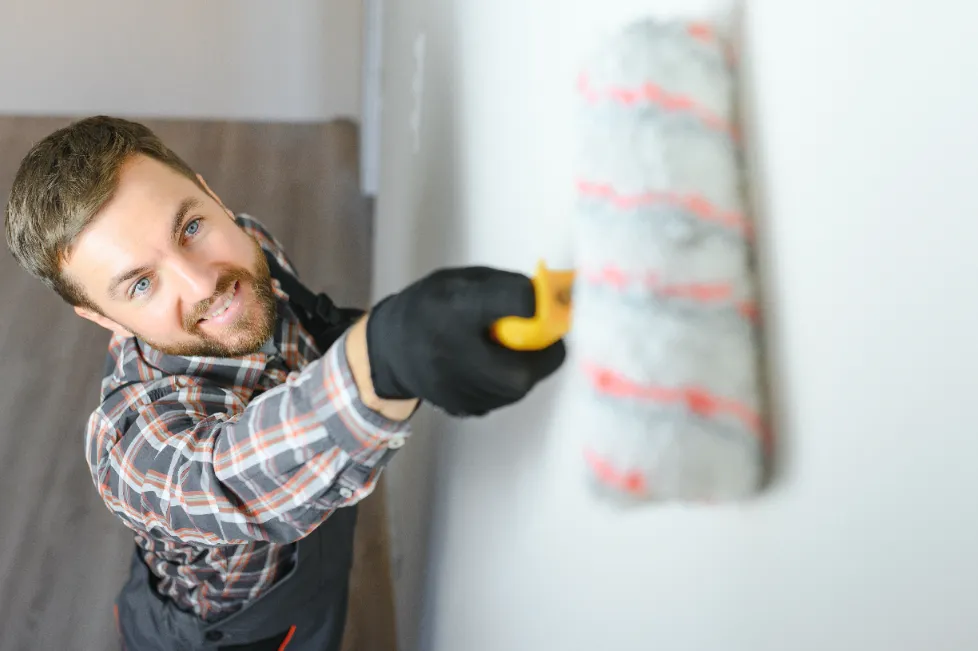
Maintain Consistency with a Wet Edge
Always keep a wet edge to avoid lap marks. This means each stroke of your roller or brush should slightly overlap the previous before the paint dries. It’s also important to plan your painting strategy, working systematically from one side of the room to the other.
Perfecting Your Interior Painting Technique
Using Tapes and Shields
Taping off trim, windows, and doors is essential for sharp, clean edges. Ensure the tape is firmly pressed down to prevent paint from bleeding underneath. Similarly, drop cloths and plastic sheeting should be laid down to protect floors and furniture from spills and splatters.
Choose the Correct Paint Sheen
The finish of your paint can greatly impact the room’s appearance and functionality. High-traffic areas benefit from satin or semi-gloss finishes, which are easier to clean. Conversely, matte finishes are better for lower-traffic areas as they hide imperfections better but are more challenging to clean.
Final Touches and Curing
Inspect and Touch Up
After the main application, inspect your work. Use a small brush to touch up any spots you may have missed or where coverage is uneven. Allow the paint to dry completely according to the manufacturer’s instructions before moving furniture back or hanging decorations.
Let It Cure
It is crucial to understand that paint needs time to cure. While it may feel dry to the touch within hours, paint can take several weeks to harden fully. Avoid washing or scrubbing new paint until it has fully cured.
Achieve Professional Results in Interior Painting
By avoiding these common mistakes, your interior painting project will not only enhance the beauty of your home but also ensure durability and longevity. Whether refreshing a single room or revamping your entire house, proper techniques and preparations are key to flawless results.
Transform your home with confidence! For more interior painting tips or to consult with a professional, visit our E&S Contractor Painting Company Inc blog or contact us today. We’re here to help you achieve the perfect finish for your interior painting project.